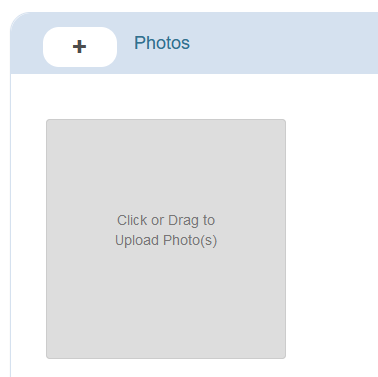
Photos can be uploaded to a project and be included on documents to show customers or kept for internal use.
1.) Open a project and find the Photos section.

2.) Drag and drop the photo on top the screen or select the + button to manually browse for the image.
3.) If you selected the green + button, browse to the location of the photo or, select it, then press the Upload Files button.

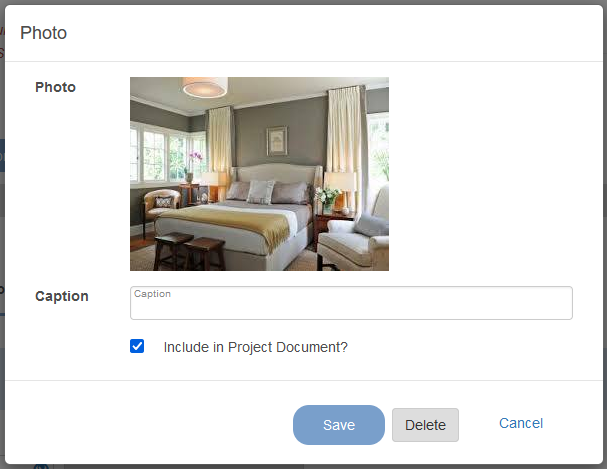
4.) Select Save once finished.
Including or Excluding Photos on Documents
1.) Select a photo inside a project.
2.) Check or uncheck Include in Project Document.
