Item Templates let you to add multiple items to your documents at once saving you the time of adding them one by one. Item templates can also be used to create a single line item from multiple items. If your services involve more then one line item, templates are an easy way to create your estimates more quickly.
Setting Up Item Templates
1.) Create the items for your template under Settings>Item List. (Here is the tutorial for building items.)
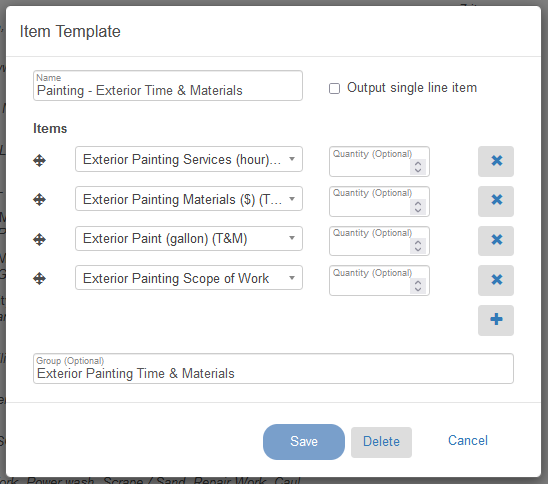
2.) Go to Settings>Item Templates.
3.) Create a new template using the green + Item Template button.
4.) Give your template a name.
5.) Choose whether you want this template to create a single line item. (Outputting a single line item will add up the value of each item and display one item on the project.)
6.) Add items to the template using the green + button and selecting items from the drop down.
7.) Save when finished.

Using Item Templates
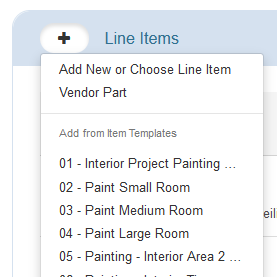
Templates can be found when adding a new line item to a project. When you select the + button, you will see your template listed on a drop-down menu.

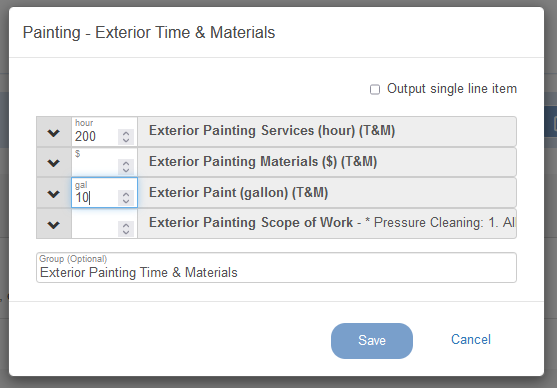
All of the items you built your template with and can add any of the items to the project by filling in a quantity. Any items you do not fill in a quantity for will not be added to the project.

Since I only gave a quantity to Exterior Painting Services and Exterior Paint (gallon), those will be the only items added to the project when I save it.

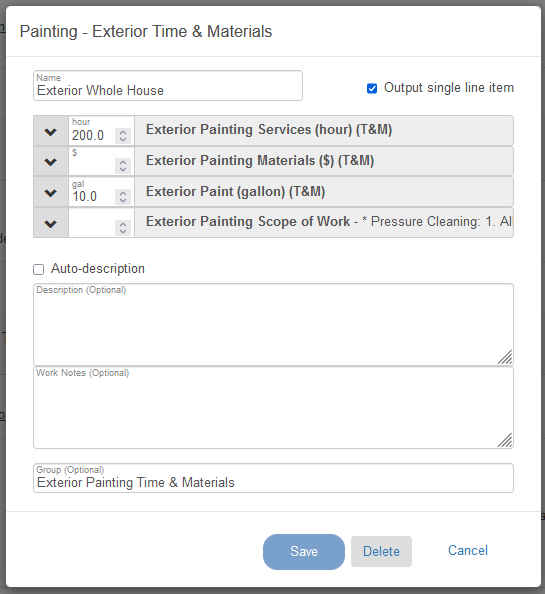
If you select Output single line item, only one list item will be added to the project but it will total the amount of all items you gave quantities to.

Managing Item Templates in Estimate Rocket
